Cabinet installation can only be carried out after the kitchen floor tiles and wall tiles have been plastered and the water transformation is completed. If the wall of the kitchen has a hollow wall, it must be reported to the cabinet manufacturer in a timely manner. Because the hollow wall cannot install the wall cabinet, the construction team needs to prepare in advance. Installation tools. If the installation worker initially does not fully understand the consumer's home situation, it may cause the situation where the cabinet cannot be installed after arriving at the site, and the installation time will be delayed.

Step 1 cabinet installation
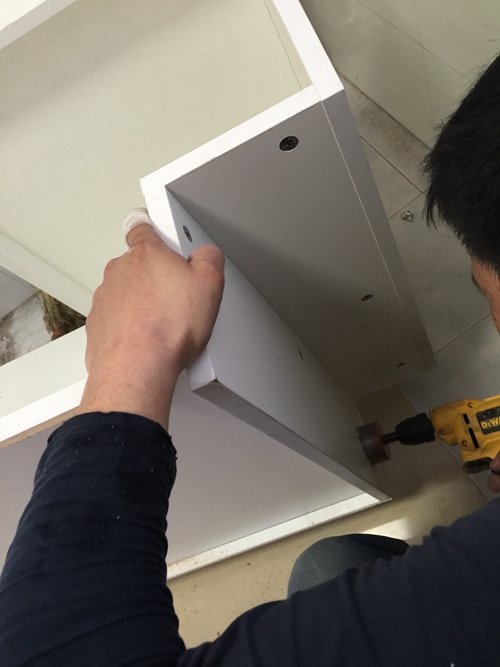
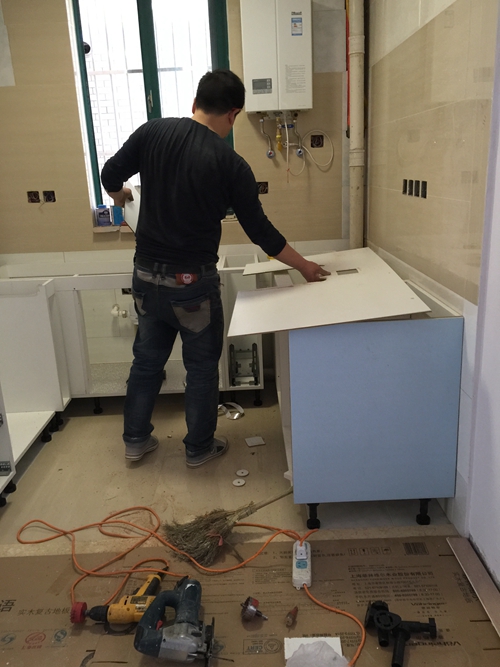
Before installing the cabinet, workers should clean the kitchen floor to accurately measure the ground level. If the cabinet and the floor cannot reach the level, the gap between the cabinet doors cannot be balanced. The installer will use the level gauge to measure the ground and walls to understand the level of the ground, and finally adjust the level of the cabinet. If the cabinet is L-shaped or U-shaped, you need to find out the reference point first. The L-shaped cabinets extend from the right-angle to the two sides. The U-shaped cabinets are the first to put the middle-shaped cabinets in order, and then they are placed from two right-angled positions to avoid gaps. After the floor cabinets are placed, the floor cabinets need to be leveled, and the level of the floor cabinets is adjusted through the adjustment legs of the floor cabinets. The connection between the cabinets is also an important step. Generally, 4 connectors need to be connected between the cabinets to ensure tightness between the cabinets. Some no-name manufacturers use low-quality self-tapping screws in order to save costs. This not only affects the aesthetics of the cabinet, but also can only lock the cabinet from one end, and the connection degree is not high.

Step 2 Hanging Cabinet Installation
After the cabinet is installed, the cabinet installation can be performed. When installing the cabinet, in order to ensure the level of expansion bolts, horizontal lines need to be drawn on the wall. Generally, the distance between the horizontal line and the tabletop is 650 mm. Consumers can raise cabinets and cabinets to the installation workers according to their height. The distance between the adjustments is convenient for future use. When installing a hanging cabinet, it is also necessary to connect the cabinet with connectors to ensure tight connection. After the cabinet is installed, the level of the cabinet must be adjusted. The level of the cabinet will directly affect the aesthetics of the cabinet.
Step 3 Countertop Installation
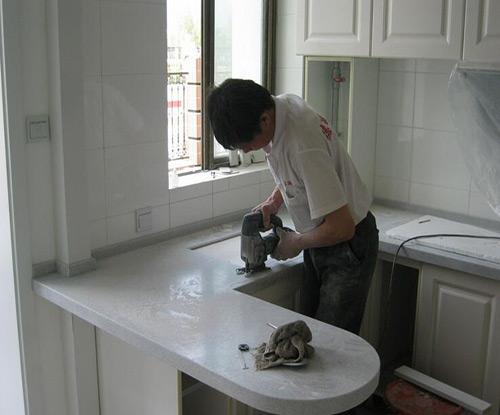
At present, most of the countertops used by consumers are artificial stone or natural stone countertops. The stone countertop is made of several pieces of stone, and the bonding time, the amount of glue used and the degree of grinding will affect the appearance of the countertop. Generally, it takes half an hour for bonding surfaces in summer and 1-1.5 hours for winter. Bonding is done using professional glue and polished with a sander. In addition, some cabinet manufacturers will install the countertops for a certain period of time after the cabinets and cabinets have been installed in order to compensate for the errors brought about by the fittings. There will be a process of measuring the amount of countertops in the middle.

Step 4 Hardware Installation
Washbasins, faucets, and baskets are the highlights of cabinets. When installing wall cabinets and countertops, in order to avoid wood chips falling into the basket rails, cover the baskets with a cover to avoid affecting future use. Basin installation involves water issues. When installing the cabinets, the installation of the water will use the on-site opening method, use professional puncher to make holes according to the size of the pipe, the diameter of the punching hole should be at least 3 to 4 mm larger than the pipe, and the hole should be opened after drilling. Some seal with a seal to prevent the expansion of the edge of the water seepage expansion, affecting the life of the cabinet. In order to prevent seepage in the basin or under water, the connection between the hose and the basin should be sealed with a sealing strip or glass glue. The hose and the sewer should also be sealed with glass glue.
Step 5 cooker electrical installation
The installation of embedded electrical appliances in the cabinet only requires the opening of the power hole at the site. However, the power supply hole cannot be opened too small to avoid disassembly in case of future maintenance. When installing the range hood, the distance between the range hood and the stove is generally between 750 and 800 mm in order to ensure the use and smoking effects. When installing the range hood, it must be aligned with the cooker. The height can be adjusted according to the actual situation. The most important thing for installing stoves is to connect the gas source. It is necessary to ensure that the gas inlet is airtight. The gas source should normally be sent by the natural gas company. If it is installed by a decoration worker, it is also necessary for the natural gas company to check whether there is a leak.

Step 6 Adjust the Door
Adjust the door to ensure that the door gap is even and horizontal and vertical. The depth of floor cabinets is generally 550 millimeters and that of wall cabinets is 300 millimeters. It reminds consumers that they can also make adjustments according to actual conditions. After adjusting the doors, the workers should also clean up the rubbish left when installing the cabinets and ensure the owner's kitchen is clean.
Editor reminded: Cabinet installation is an important part of the renovation process, cabinet installation is over, the kitchen will change the appearance of the old, it also means that the home is nearing the end of the renovation. The assembly time of the cabinet, that is, the time when the cabinet is shipped to the site until it is completely installed. This time has a lot to do with the skill of the cabinet builders. Skilled workers can install a set of cabinets as soon as one day, and some raw workers may need to spend several days or even more than ten days to install workers. The installation is complete. Of course, the size and complexity of the cabinet also have a certain influence on this time. The complicated cabinets will take longer to install.
Construction Acceptance Notice Cabinet Fitting Range Hood Glass Appliance Vantage Glass Brick Cabinet Door Counter Glass Counter Cabinet Glass Cabinet Door Cupboard Door Panel Kitchen Wall Tile Kitchen Cabinet Door Glass Door Cabinet Door Kitchen Glass Sliding Door
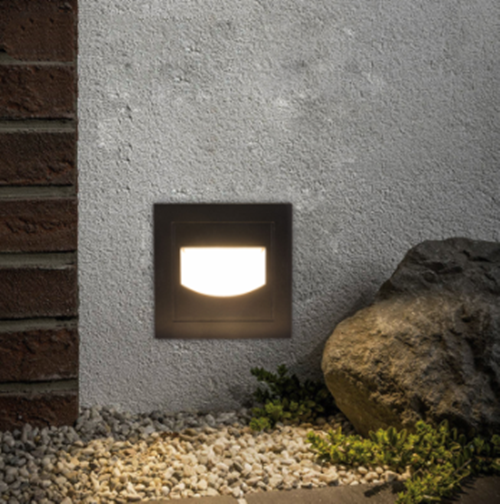
Step Light
SYA LIGHTING The step light install in wall,step,corner. has the characteristics of small size, low power consumption, long service life, sturdy and durable. Low power consumption, long life, easy installation, chic and elegant shape, anti-leakage, waterproof;
1. The LED light source has a long life, no accidents and almost no need to change the bulb, one time construction, several years of use.
2. Low power consumption, no need to pay high electricity bills for lighting and beautification.
3. Waterproof, dustproof, pressure resistant and corrosion resistant

Our other products range:LED Underground Light, LED Underwater Light, LED Wall Washer Light, LED Linear Light , LED Outdoor Flood Light, LED Garden Light , LED landscape light , LED Strip Light , LED Step Light etc.
LED stair Light,Foot Light,Waterproof Step Light,Stair Step Light,path Light
SHENGYA LIGHTING TECHNOLOGY CO., LTD. , https://www.syalighting.com